Sunday, 23 June 2019

How to Download Files Using Safari on iPhone and iPad


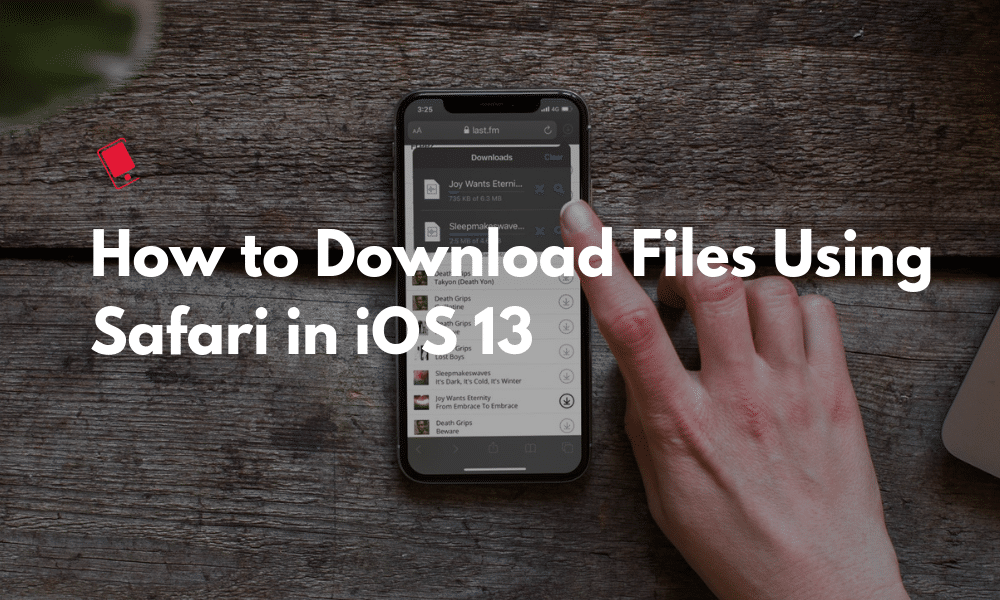
Dreams do come true. Well, at least if wildest imagination is limited to download large files on your iPhone or iPad using Safari. Well, in iOS 13 and iPadOS 13 you can actually do that. Safari now has a built-in download manager where it lets you download files straight to the local storage (or iCloud Drive). Here’s how you can use this feature to download files in Safari on iOS 13 and iPadOS 13.
Safari Download Manager in iOS 13 and iPadOS 13: Everything You Need to Know

As with many features in iOS, the download manager in Safari is hidden until it’s conjured (or called up). Unlike Safari on the Mac, you won’t find a download button in the top toolbar.

Step 1: Go to a page which contains the download link and tap on it.

Step 2: You’ll see a popup asking if you want to download the file (you’ll see the full name of the file but you won’t see the file size). Here, click on the Download button.


Step 3: Now, you’ll see a new Downloads icon in the top-right corner of the Safari app, next to the URL field. Tap on it and you’ll see all available downloads. And yes, you can download multiple files at the same time.

Step 4: From here, you can see the progress of the download. You’ll be able to see the file size, but it won’t show the download speed. If you want to stop or pause the download, you can tap on the X icon. If a paused download can be resumed, you’ll see the Resume button as well.


Step 5: To delete a download, swipe left on it and tap on the Delete button.

Step 6: Once the download is finished, you’ll be able to tap on the file to open it in the Files app. And once you can see it in the Files app, you can preview it or open it if it’s in a supported format (MP3, PDF, Images and so on). And if not, you can tap on the Share button to open it in a compatible app.


This means that you can now download any file in Safari, without the need for a third party download manager and then you can use Files to open the file in any supported app. For example, you can download a DOCX file from an online source and then open it in World app via Files. And now that Files app supports external storage in both iPhone and iPad, you can actually transfer a downloaded file to a flash drive (this even works for sending books to Kindle).
How to Change Safari’s Download Folder on iPhone and iPad


Once you start using the download manager, the first thing you’ll want to do is to change the default download location. By default, every download goes directly to a Downloads folder in iCloud Drive. Now that’s great if you’re on a 50GB or 200GB plan. All your downloads will be available across all your Apple devices.

But if you’re on the free 5GB plan, a couple of downloads will take a major hit to your available space.

It’s best to change the download location to a local folder on your iPhone and iPad (And finally it’s great that Apple not only lets you choose local storage as a downloading location, it also lets you create and move folders in local storage).

To change the download location, go to Settings > Downloads (in General section) > On my iPhone. This will switch to a Downloads folder on your local iPhone or iPad. But you can go a step further and change this location as well by going to the Other option.
How to Download Links Without Opening Them on iPhone/iPad


If you don’t like waiting till the link opens in a new tab, you can actually skip the whole process thanks to the new Peek feature that’s available across all iOS devices now. Just tap and hold on the link and select the Download Linked File button. This will start the download process in the background.
Yes, This Works for Large Downloads in the Background

You can even download files that are a couple of gigabytes on your iPhone or iPad using this feature. This works even in the background, with the iPhone locked and with the screen off. This is something you couldn’t do previously using third-party apps.

I tested this using a 2GB iOS 13 beta file from Apple’s servers and the process was slow at the start but after a couple of minutes, it completed the while 2GB download in the background, on its own.
Learn More about iOS 13 and iPadOS 13

This is just one small change in iOS 13. There a lot more like this. We’ve compiled the top 25 changes in iOS 13 that you should know about.

If you’ve got the time (and the curiosity), take a look at our mega iOS 13 new features list (100+) to find out every big and small feature in the upcoming iPhone and iPad update.

Read more:Convert Image to Video (Online/Mobile/PC)

Read more:10 Software to Test Hard Drive Speed 2019

Read more:Go Live on Tik Tok/Musical.ly in 2019

Thursday, 13 June 2019

How to Create a Custom iMessage Profile in iOS 13


In iOS 13, Apple allows you to create a standardized iMessage profile that includes your name and photo – or an Animoji/Memoji – which accompanies the messages you send to friends so that they know who you are.


The idea behind the new feature is that contacts in the Messages become more easily identifiable, similar to the way WhatsApp and Facebook Messenger contacts have recognizable profile pictures.


If you choose to use a Memoji as your profile pic, you'll be happy to learn that iOS 13 also provides options for customizing it, including pre-selected poses and background colors.


How to Add a Custom Message Photo Profile in iOS 13


Launch the Settings app on your iPhone or iPad.


Tap Messages.


Tap Share Name and Photo.


To use a photo in your new profile, tap the Camera button and take a picture of yourself. Alternatively, tap All Photos to choose an existing picture from your photo albums.


Once you've selected a picture, you'll be given the option to move and scale it in the circular frame. Click Choose once you're done.


You'll then be asked to select a filter to apply to the photo. Alternatively, tap Original to skip this step.


Tap Done.


Tap the empty fields alongside your profile picture to enter your first and second name.


Make sure the Share Name and Photo switch is toggled to the On position.


Choose from one of the automatic contact sharing options – Contacts Only, Always Ask, or Anyone.


How to Add a Message Animoji/Memoji Profile in iOS 13


Launch the Settings app on your iPhone or iPad.


Tap Messages.


Tap Share Name and Photo.


Select an Animoji from the default list. If you've created a Memoji, it will also appear in the list for you to choose.


In the next screen, select a pre-defined Pose.


Move and scale the image in the circular profile frame, then tap Choose.


Select a background color.


Tap Done.


Tap the empty fields alongside your profile picture to enter your first and second name.


Make sure the Share Name and Photo switch is toggled to the On position.


Choose from one of the automatic contact sharing options: Contacts Only, Always Ask, or Anyone.

Sponsor ads:

Gihosoft RePicvid Free Photo Recovery Software provides a free photo recovery software for windows to help users recover the deleted or lost photo for free.

If you lost data after you updated to a new iPhone, you can always use Gihosoft iPhone Data Recovery to get the data back from the old iPhone or backup.You may also like: iphonerecovery.com

iPhone Manager:Get the ultimate Gihosoft iPhone Manager. Free download for PC/Mac.


In iOS 13, you can also turn your Memoji into stickers, which can be used across numerous apps like Messages and Mail. Memoji stickers and the Memoji editor are also supported by all devices with an A9 chip or later – not just those with TrueDepth cameras.

Wednesday, 5 June 2019

Free Download Fastboot for Windows/Mac


Free Download Fastboot for Windows/Mac

ADB and Fastboot work hand in hand in conjunction and they are incomplete without one another. You can easily get Fastboot to work on Windows/Mac by download and run Minimal ADB and Fastboot created by Snoop05. It is very easy to install and use. You can carry out Fastboot Tool download for Windows/Mac by following the steps below.

Step 1 Download ADB Fastboot Tool installer package on your Windows computer or Mac.

Step 2 It may be in the ZIP format, unzip the contents and double click on exe installer.

Step 3 Click on "Run" option to grant access if a security warning pops up.

Step 4 The installation wizard will now commence. On the first screen click on "Next".


Step 5 Let the default location for storing this tool be the same as suggested and again click on "Next".

Step 6 Follow the subsequent screen instructions and the installation will begin.

Step 7 Once the installation is completed, enable USB debugging on your Android device and connect to your Windows computer or Mac system with the help of a USB cable.

Step 8 Navigate to the location where the Fastboot Tool is installed and press the "Shift" key and right click.

Step 9 Open the command prompt window and key in "adb devices". If the list of all the connected devices is displayed, the installation of Fastboot Tool is successful, if not you would have to try again.


This is a simple way to download the Fastboot Tool on your Windows/Mac system and use it to advance the functionalities of your Android device.
Part 4: Common Fastboot Commands

Once you have successfully installed Fastboot Tool, you can use the commands to bring about the changes in your Android device. Here are some of the most commonly used Fastboot commands which can help you get started with using this tool.
1. Unlock/Relock your Bootloader:

fastboot oem unlock/fastboot oem lock
2. Flash a Custom Recovery:

fastboot erase recovery

fastboot flash recovery <recovery-file.img>
3. Flash a Custom ROM:

fastboot erase system -w

fastboot erase boot

fastboot update <your-file.zip>
4. Erase an Individual Partition:

fastboot erase <partition>
5. Reboot the Phone

fastboot reboot

Also Read:15 Game Torrenting Sites to Download Games in 2019

Also Read:5 Best Free Backup Software for Windows

Also Read:KissAsian to Watch Asian Movies

Also Read:5 Best Websites Like Afdah for You to Stream Movies in 2019

Apple Using Tencent’s Safe Browsing for Malicious Website Warnings in Safari on iOS 13 Which Logs IPs

Apple has primarily always relied on Google’s Safe Browsing technology for Safari’s ‘Fraudulent Website Warning’ feature. However, it seems ...